Introduction to Pressing Flowers and Leaves from 10 Popular Plants to Grow with Kids
-
 Nasturtium (Tropaeolum majus): Nasturtium flowers press exceptionally well, retaining their vibrant colors and intricate shape.
 -
 Marigold (Tagetes): Marigold flowers hold up well when pressed, preserving their bright colors and intricate petal formations.
 -
 Calendula (Calendula officinalis): Calendula flowers are perfect for pressing, as they maintain their vibrant hues and delicate texture.
Snapdragons (Antirrhinum majus): Snapdragons press beautifully, and their unique shape and vibrant colors make them stand out in collages and pressed flower gifts.

Zinnia (Zinnia elegans): Zinnias have sturdy petals that press well, and their wide range of colors adds a lovely touch to collages or pressed flower arrangements.
-
 Sunflower (Helianthus annuus): While sunflowers can be a bit challenging to press due to their size, their large, bold blooms make stunning focal points in nature collages or pressed flower gifts.
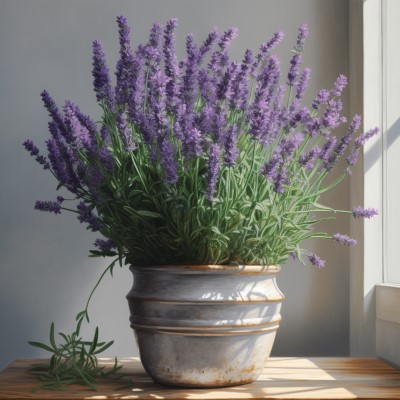
Lavender (Lavandula): Lavender is a popular choice for pressing, as its small flowers hold their shape and retain their delightful fragrance when dried.
-
 Chives (Allium schoenoprasum): Chive flowers are delicate and can be pressed effectively, adding a touch of purple to your collages or pressed flower crafts.
 -
 Dill (Anethum graveolens): Dill flowers and foliage can be pressed, and their delicate, feathery appearance adds a unique texture to pressed flower arrangements.
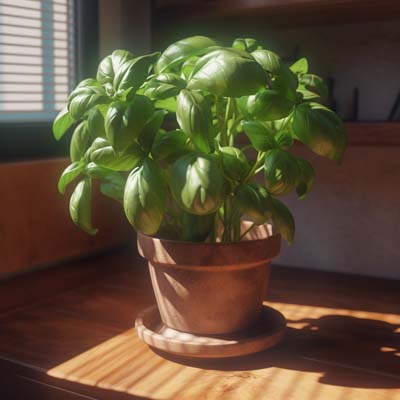
Basil (Ocimum basilicum): Basil leaves press well and retain their vibrant green color, making them a great addition to nature collages or pressed leaf crafts.
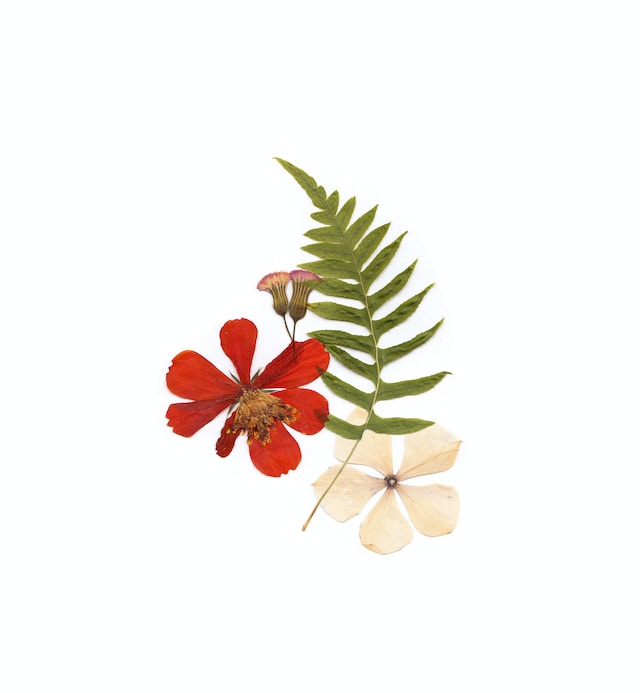
Whether you're pressing your own garden flowers or collecting specimens in nature, pressing flowers and leaves is a timeless art form that allows you to preserve the beauty of your favorite plants for various creative projects. This guide will introduce you to the process of pressing flowers and leaves from 10 popular plants, each with its own unique characteristics that make it suitable for this activity. By following the simple steps outlined below, you can transform these botanical treasures into stunning collages, pressed flower gifts, and more.
Instructions for Pressing Flowers and Leaves:
-
Gather your materials: Choose flowers and leaves from the 10 plants listed above. Make sure they are free of moisture, and gather a few extra specimens in case some get damaged during the pressing process.
-
Prepare your press: You can use a flower press or create your own using two heavy books, sheets of absorbent paper (such as blotting paper, parchment paper, or newspaper), and tissue paper.
-
Arrange the specimens: Place a sheet of absorbent paper on the bottom book or flower press, followed by a layer of tissue paper. Carefully arrange the flowers and leaves on the tissue paper, ensuring they are not touching each other.
-
Press the specimens: Place another layer of tissue paper on top of the arranged specimens, followed by another sheet of absorbent paper. Close the flower press or stack another heavy book on top to apply even pressure.
-
Dry and store: Allow the flowers and leaves to dry for 2-4 weeks, checking periodically to ensure they are drying evenly and no mold is forming. If necessary, replace the absorbent paper with fresh sheets.
-
Carefully remove the pressed flowers and leaves: Once fully dried, carefully lift the specimens off the tissue paper using tweezers or your fingers. They are now ready to be used in your creative projects.
Remember that each plant listed above has its own unique qualities when pressed, so experiment with different combinations to achieve the desired effect. Happy pressing!
back to KidZone Science